Follow Us On Instagram (@wahsosimple)

Craft Workshop: Upcycled Zipper Pouch Workshop with Up & Away

Photo Credits: Up & Away

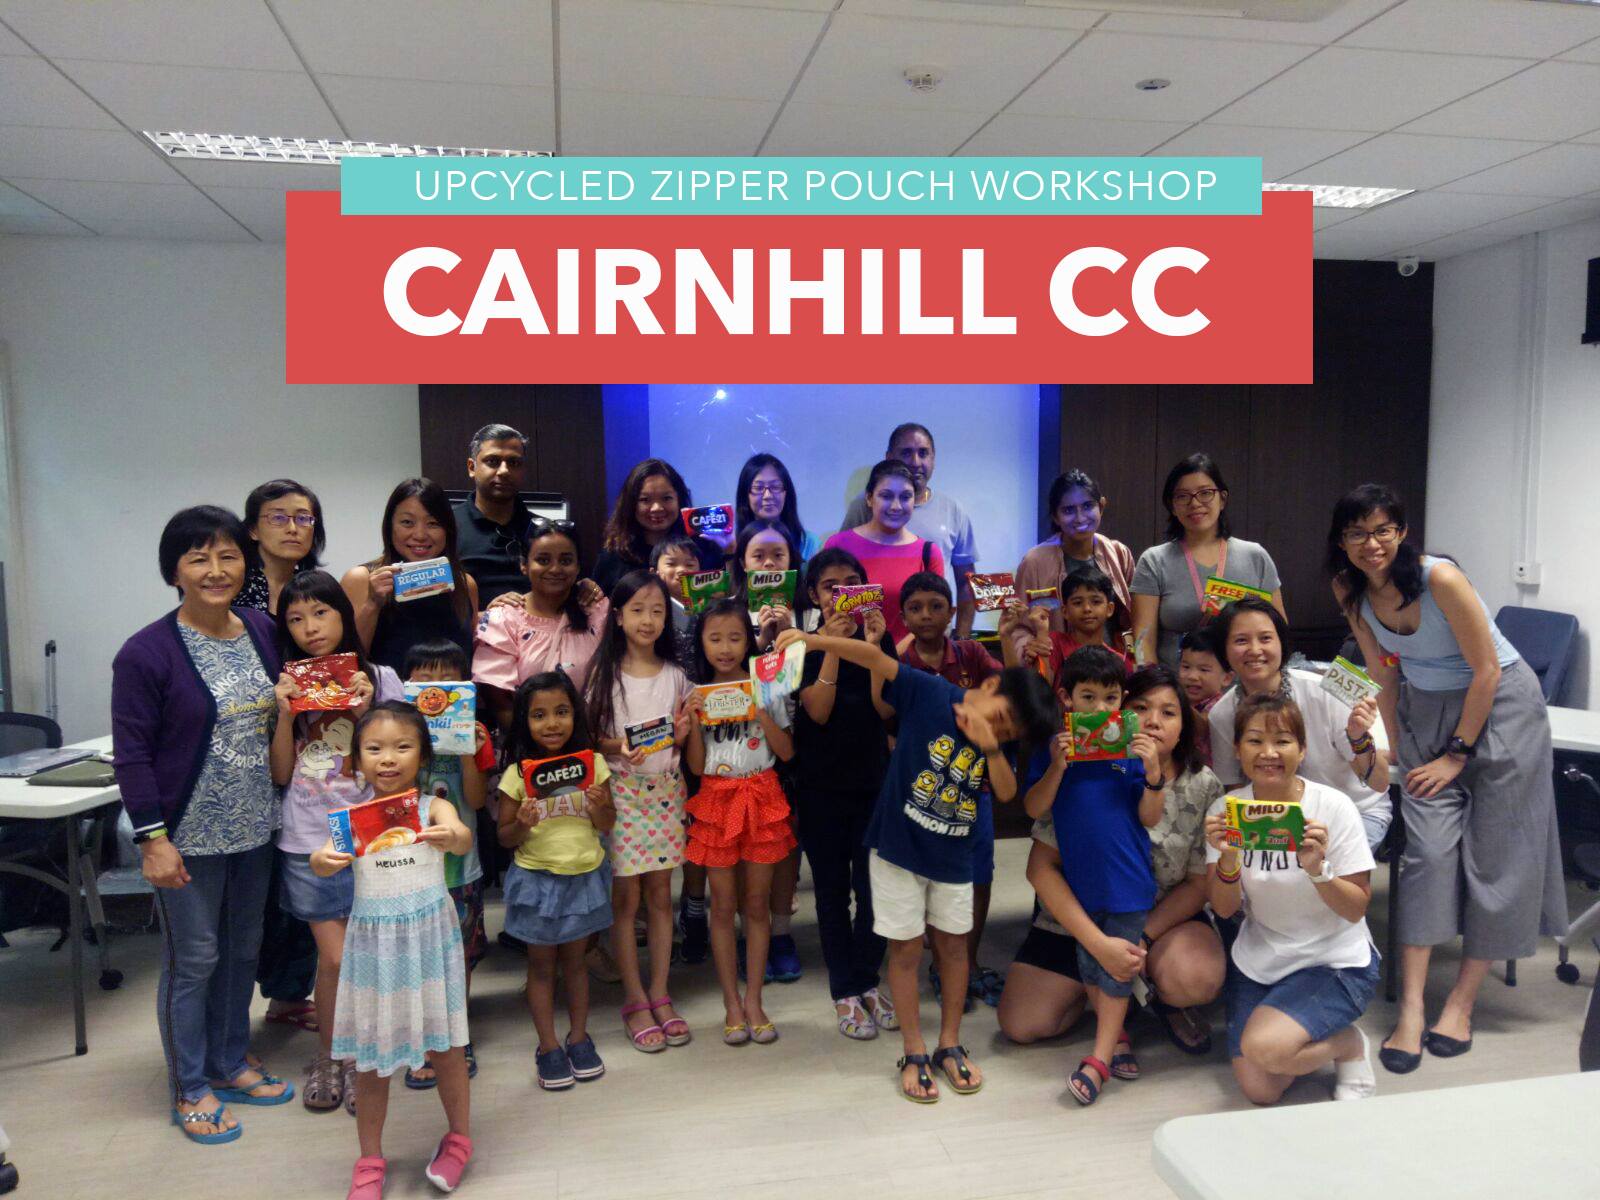
We had a fabulous time last month with the very energetic upcycling team - Up & Away. They are a group of four undergraduate students from NTU; passionate about doing their part to spread the message about caring for the environment through upcycling - where trash is turned into treasure.

We conducted an upcycling workshop - sharing how we can turn used food packaging into attractive hand made zipper pouches. The children had lots of fun snipping and stapling away, as they transformed packaging which they usually discard, into their work of creation, with some help from their parents.

Selecting her design
    Some help from Mummy in the scissors department.
Stapling requires full concentration!
Matching tape for her green Milo pouch.
Utterly loving his work of art! 

If you would like to try your hand at making your very own pouch, click on here for the instructions. 

Do check out more about what other great initiatives the team from Up & Away does, by following this link.

Till our next post, upcycle something with your hands! =)

~~~~~~~~~~

DIY Craft: Upcycling with Used Food Packaging


We all love attractive designs, don't we? Have you come across pretty food packaging which draws you to buy them off the shelves? Here is an idea to transform these lovely food packaging into something useful after we have munched all the yummy contents. You can try your hand at making an upcycled zipper pouch!

You will require the following items for this craft:
  • A piece of used food packaging
  • Some duct tape
  • A zipper
  • A pair of scissors
  • A stapler

Here are the steps:

  1. Determine the size of the pouch you would like to make from the packaging and cut 2 identically sized pieces from the packaging. This will form the front and the back of the pouch. You will need to ensure that the length of your desired pouch does not exceed the length of your zipper. 
  2. With the outer side of the cut packaging facing you, tape both the pieces of together at the base area. (See Picture 1)
  3. With the outer side of the packaging facing you, anchor your overturned zipper at the top left hand side of (2) and staple the zipper to the packaging. You will need to staple along the entire side, ensuring that you do not staple too close to the zipper.  (See picture 1)
  4. Once done, cover the stapled stitches with duct tape, with the bottom half of the tape covering the stapled area and the top of the tape on your work surface. Lift your work off your work surface, and fold over the plastic as you stick the other end of the duct tape, which was previously stuck on the table onto the inner side of the packaging. (See picture 2)
  5. Place completed (4) on the table, with the inner side of the packaging facing you. Lift the bottom of the packaging up to meet the top side with the stapled zipper (zipper should be facing upwards now). Staple this end of the packaging to the entire length of the zipper. Next, cover the stapled stitches with duct tape (repeating step 4). Trim off any excess tape at the side. (See Picture 3)
  6. Ensuring that the zipper is on top and well aligned, staple along the end of the pouch (side with the end of the zipper). Cover the stapled stitches again with duct tape, leaving an additional 1 inch on the top (side with the zipper). 
  7. Cut off the excess square of the tape (See Picture 4). Fold over the "L" shaped corner of the tape, before folding the tape over to cover the stapled stiches. 
  8. Cut off the excess zipper.
  9. Unzip your half completed pouch at this stage. This step is crucial to ensure that you are able to overturn the pouch later. 
  10. Repeat step 6 and 7 on the other side of the pouch. (See Picture 5)
  11. Overturn your pouch and you are done! (See Picture 6)
So look into the cupboards and shelves the next time you enter your kitchen and think about the pouches you can make with your finds! If you prefer a hands-on workshop to learn to make this zipper pouch or any other upcycling crafts, please email us at hello@wahsosimple.com.

Till our next post, upcycle something! =)

~~~~~~~~~~

Come join our Shrink Art Craft Party at Woodlands Regional Library!


It has beed a while since out last post and we guarantee this post is good stuff! We are bursting with excitement to share that we are working with National Library Board (NLB) to craft at their libraries! How wonderful is that?

This series of workshops is part of ARTSEEN  - a community arts and culture node initiative by NLB and the National Arts Council, which seeks to promote vibrant arts learning within libraries, where artists and the community connect and engage in authentic art experiences. 

Come join us at Woodlands Regional Library this Sunday - 4th February. We will be there to work with you on your personalised Shrink Art Bookmarks.

You will need to click on here to get register and obtain your free tickets to the workshop. We will see you this weekend at the cosy Woodlands Regional Library!

Till our next post, craft something with your hands! =)

~~~~~~~~~~

Craft Workshop: "Grow Big Ideas" - Story & Shrink Art Fun Craft Session

WahSoSimple brought our all time favourite shrink art craft workshop to the Story Carnival at the Enabling Village last week. Together with the veteran and talented story teller -  Roger Jenkins, we ran "Grow Big Ideas", a story and craft workshop.


Roger, a natural at telling stories, enchanted the children and their parents with a story by Taiwanese author, Jay Yue. He told the audience the inspiring story of Ding Ding, the humble bottle cap. Ding Ding believed in his conviction that he is not a throwaway item. The children learnt from Ding Ding that everyone is unique, regardless of size and shape and they can all do great things if they believe in themselves. 


WahSoSimple introduced the children to shrink art and taught the children on how to work on their own inspirational bag tags. The tags were made with messages to remind them to stay confident and have the grit during sticky situations. The children, together with their parents, worked on their colourful and inspirational tags together. 


Till our next blog post, craft something with your hands! =)

~~~~~~~~~~